Cart

Quick Links

MAP_Pressure Sensor
MAP_Pressure Sensor
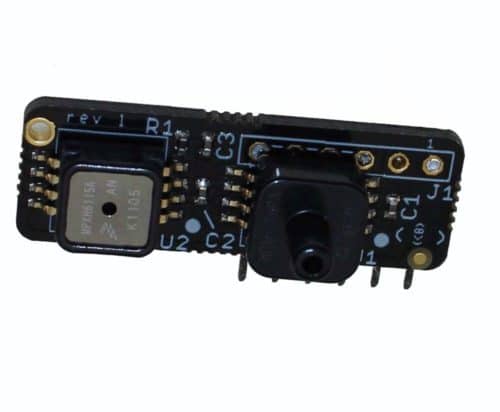
1/8 NPT 4 Bar MAP Sensor & 15ft cable w/ 90° Boot Combo

1/8 NPT 3-Bar MAP Sensor & 15ft cable w/ 90° Boot Combo

$76.99

-

Description

This combo package is perfect for monitoring manifold pressure for a wide range of boost levels. It includes a 1/8 NPT 3-Bar MAP Sensor for high-boost applications and a 1-to-2 Bar MAP Sensor, ensuring accurate data in any performance setup. The 15-foot cable and 90° boot make installation easy, even in tight or custom engine bays.

Features:

  • Versatile Range: Supports 3-bar and 1-to-2 bar configurations, making it perfect for naturally aspirated and boosted setups
  • Screw-In Design: The sensor features a screw-in 1/8″ NPT style, which offers better sealing and durability compared to the standard nipple style
  • 15ft Long Cable: Provides ample length for mounting the sensor where needed.
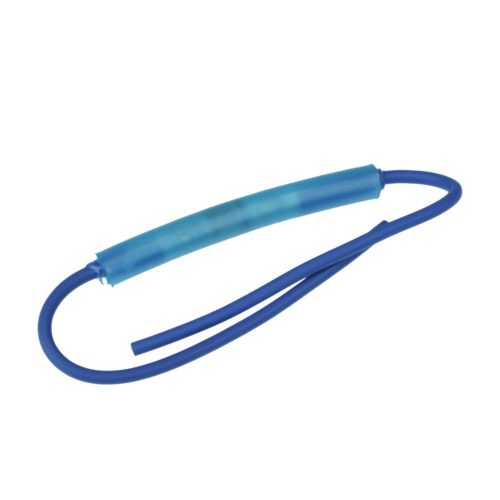
  • 90° Boot: Offers flexibility and ease of connection in compact areas
  • Durable Build: Ensures long-lasting performance and precise readings under demanding conditions

Specifications:

  • MAP Sensor Types: 3 Bar and 1-to-2 Bar
  • Input Voltage: 5V reference
  • Output Voltage Range: 0.5V to 4.5V
  • Cable Length: 15 feet
  • Boot Style: 90° angle for secure and compact connection
  • Application: Compatible with most aftermarket and OEM ECUs

Sensor Input/Output Values:

  • 0.5V = -14.5 PSI
  • 4.5V = 29 PSI

Wiring:

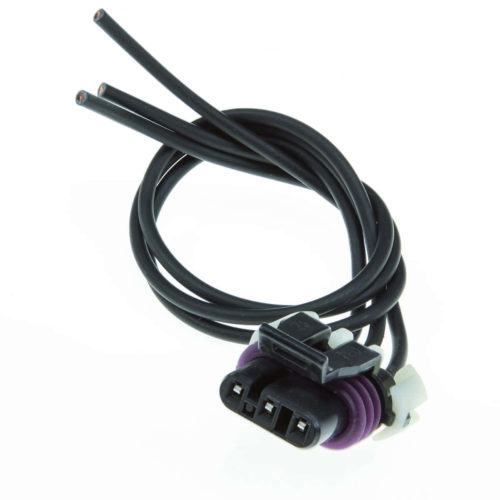
  • Red: 5V Vref
  • Black: Sensor Ground
  • Green: Signal Output to ECU

Included in Box:

  • 3-Bar MAP Sensor
  • 15ft cable with 90° boot

Customer reviews

Reviews

There are no reviews yet.

Only logged in customers who have purchased this product may write a review.

What size hole do I need to drill to install this sensor?

  • The hole should be tapped for 3/8″ NPT.  Your tap will come with instructions for the preferred drill size, which is likely to be 9/16″.

What is its resistance vs temperature curve?

  • If you are connecting this to a device that supports 3 point calibration (all MegaSquirt units do), use these numbers if your device does not have a standard GM temperature sensor calibration curve.
    • 7000 ohms at 48 degrees F
    • 1930 ohms at 87 degrees F
    • 560 ohms at 146 degrees F

I am using it with a device that requires a voltage vs temperature curve. What data do I enter?

  • This sensor outputs resistance, not voltage. You will need additional, external circuitry to convert its output into a voltage, and the voltage will depend on the design of the external circuit.

Can I buy the connector separately?

  • Yes. You can order a connector here: GM IAT sensor pigtail connector. This is a somewhat different style connector from the one we ship with the sensor, but will connect to the sensor without any problem.

Where exactly should I install this on my engine?

  • We do not recommend threading it into the intake manifold except for supercharged engines where the supercharger attaches directly to the manifold. For all other applications, we recommend installing this sensor in the part of the intake system directly upstream of the throttle body. The reason is that the intake manifold often transfers heat to the sensor by conduction at a faster rate than it transfers heat to the incoming air. While there are ECU settings to compensate for this, mounting the sensor where it does not absorb so much heat will often make tuning easier.

Questions & Answers

There are no questions yet, be the first to ask something for this product.

Only registered users are eligible to enter questions