Many engines from the 1990s and later already have enough sensors to fully support sequential fuel injection. But what if you’re converting an older carbureted engine to EFI, or want sequential injection on an engine with an early bank to bank EFI system? Sometimes, you may be able to get an easy bolt-on solution from a later engine or the aftermarket. But what if bolt on parts are either not available, or out of the budget? You can add a crankshaft position sensor and camshaft position sensor with some basic fabrication tools. Here, we fitted a Chrysler slant six with both a crankshaft position sensor with a 36-1 crank trigger, and a camshaft position sensor, using a MIG welder, hacksaw, and hand drill.
The engine is out of the car on an engine stand in these pictures, which makes access and pictures easier, and allows us to easily flip the engine over. These modifications require a lot of access – if you do not want to pull the engine, your best bet is typically to remove the radiator and grille.
The crankshaft position sensor
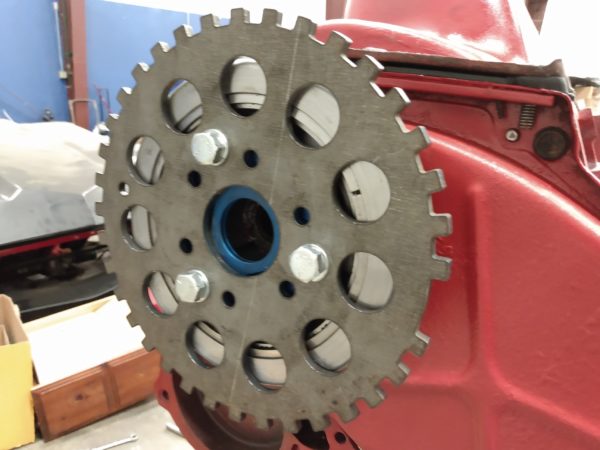
For the crankshaft position sensor, the first order of business is to get a suitable trigger wheel on the crankshaft pulley. We offer a set of generic 36-1 trigger wheels for this purpose. In this case, the slant six happens to use the same crank trigger bolt pattern as a small block Chevy. This particular trigger wheel is a prototype model, but there are several sources offering 36-1 or 60-2 trigger wheels that fit the Chevy bolt pattern. Or you can fit one of our universal trigger wheels with a bit of drilling.
The next task is to make a bracket for your crankshaft position sensor. The bracket needs to be sturdy enough not to have vibration issues. The slant six does not offer very many convenient bolt holes for a bracket, although the oil pan rail could work. The timing cover, on the other hand, has a wide, flat space, and is made of mild steel. So we opted to grind the paint off the timing cover and weld on a piece of 1″ square steel tubing.
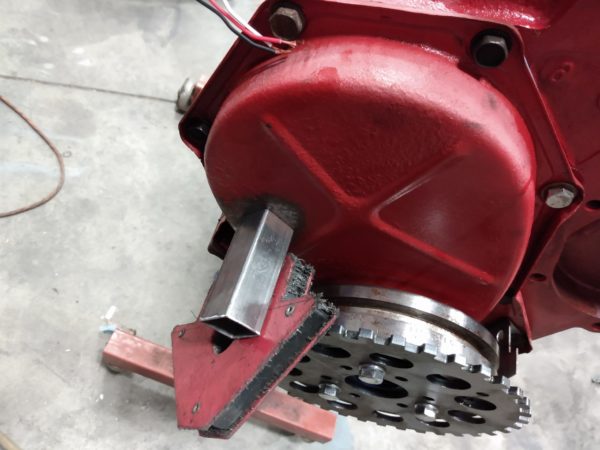
A welder’s magnetic triangle ensures the tubing will be perpendicular to the trigger wheel.
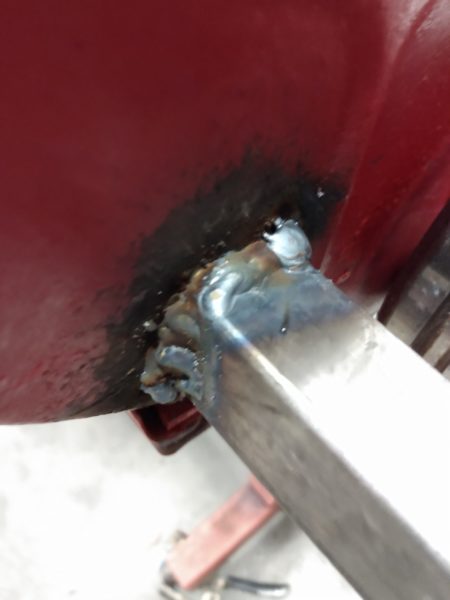
These welds aren’t perfect, but they will hold and didn’t add any more leaks, then drilled a hole in the end of the tubing to fit our 12 mm threaded Hall effect sensor.
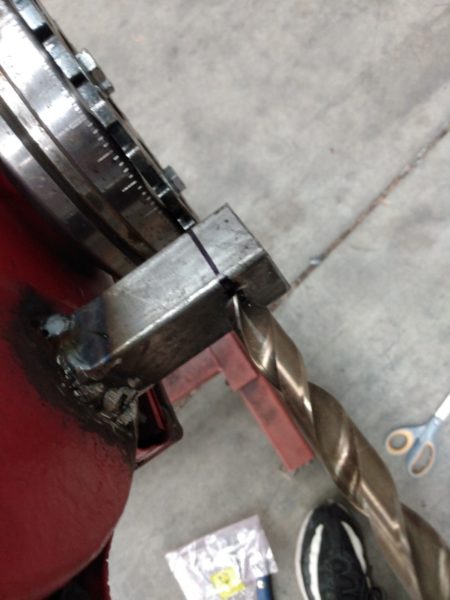
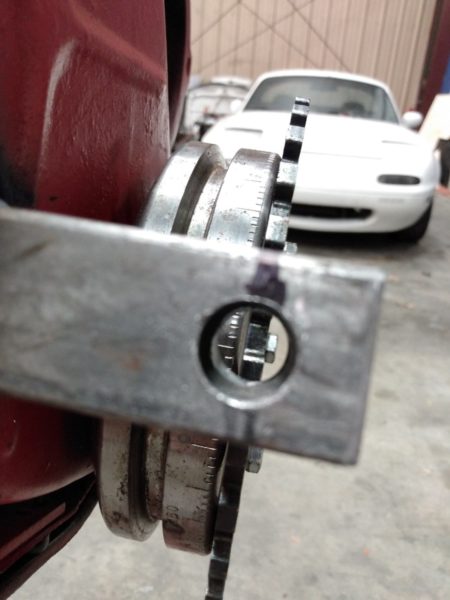
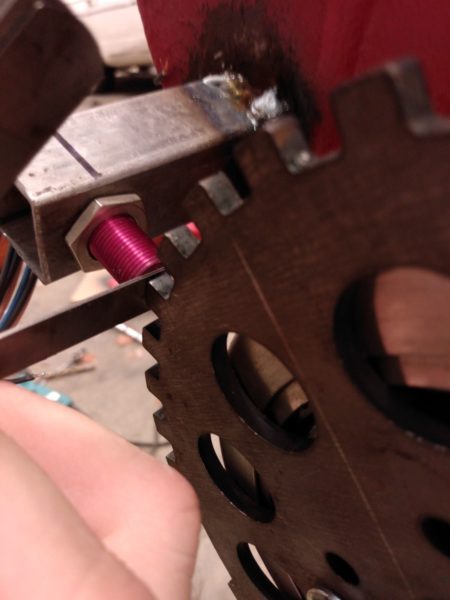
After installing, confirm the sensor gap.
The camshaft position sensor
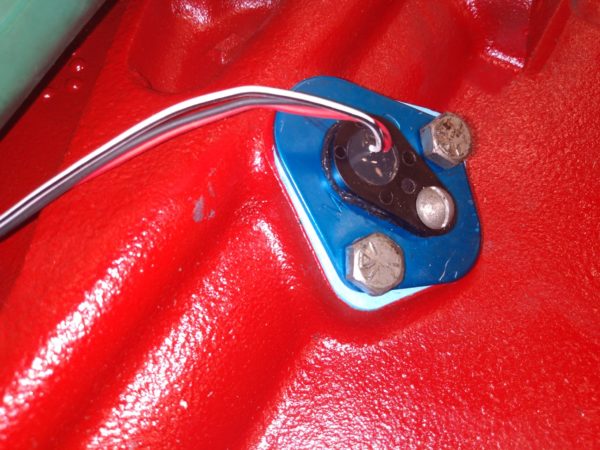
The camshaft position sensor is a bit trickier, since the camshaft does not conveniently have one end poking out the front of the block. However, the slant six has a mechanical fuel pump driven off an eccentric, which comes fairly close to the fuel pump mounting flange. While we expected to need the threaded Hall effect sensor again, in this case, our tabbed mount Hall effect sensor turned out to be the perfect depth.
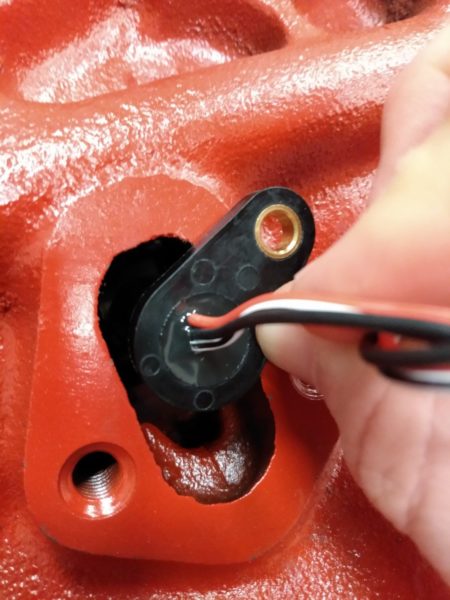
So all this needed to fit was drilling two holes in an off the shelf Moroso fuel pump block off plate, and sealing the sensor with a bead of RTV.
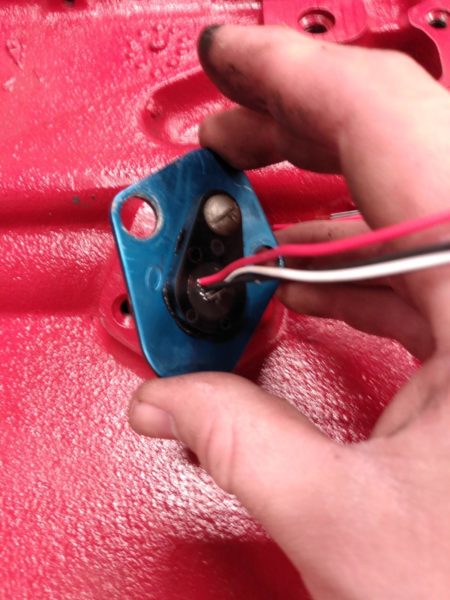
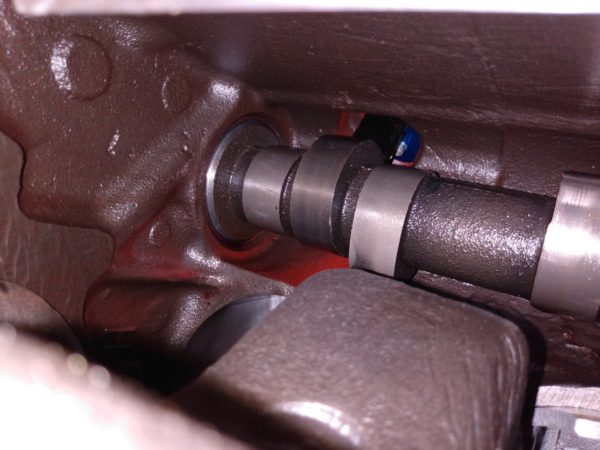
Looking inside the crankcase, you can see how the sensor comes close enough to the fuel pump eccentric to trigger.
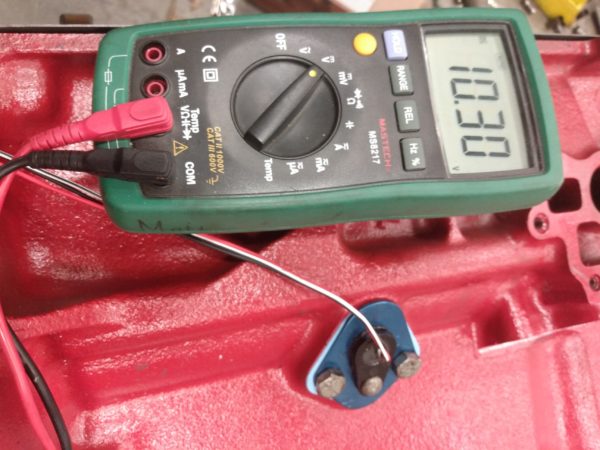
Checking the output of the sensor with a volt meter confirms it reads battery voltage with the lobe far away and switches to ground as the lobe approaches.
With a 36-1 crank trigger, the MegaSquirt does not need a very precise cam position reading. The camshaft position sensor is only used to determine engine phase, with the crankshaft position sensor handling the more precise timing calculations.
Other possibilities
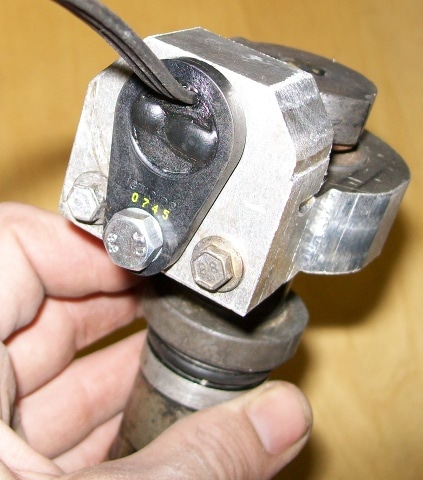
The fuel pump location happened to be convenient on this engine. But other engines may not have a mechanical fuel pump drive, or locate the camshaft too far away to run a sensor in through a block off plate. In those cases, a distributor cut down to one tooth makes an excellent option for a camshaft position sensor. Here is one example of a modified distributor.
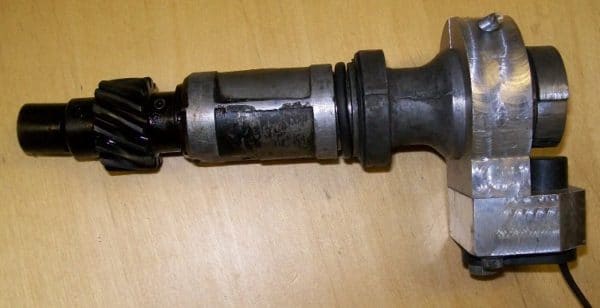
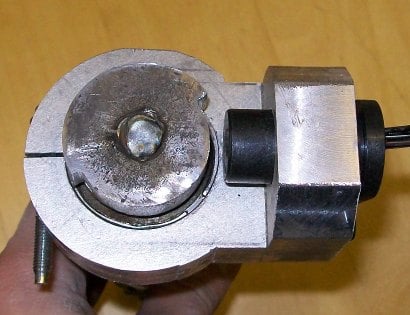
Another possibility is to press a single stud or bolt onto the camshaft sprocket, and weld a mounting point to the timing cover for a camshaft position sensor.
Adding a crankshaft position sensor and camshaft position sensor to your engine does not need a lot of aftermarket support or a shop with a lathe, milling machine, and other high end tools. You can do this with some more basic fabrication tools and a little bit of creativity.

